Help Toolbar (select a button to browse other online help sections) Home Tutorials Resources Search Tabs & Menus Button Bar Table & Data Display |
Emailing Employee Pay Statements
eNETEmployer allows you to create pay statements for each of your employees. You can then distribute them to each person in a traditional printed manner (as discussed in the tutorial entitled: Creating Employee Pay Statements), or via email.
For this tutorial, we will discuss how to send your pay statements to your employees via email. Two methods will be discussed:
- Emailing pay statements to all employees.
- Emailing pay statements to one or more specific employees.
Before proceeding with this tutorial, you must ensure:
|
NOTE: Click on an image below to view it at full size.
To send pay statements to all employees:
- From the Payroll tab, choose the Reports option from the menu. This opens the Payroll Processing - Reports screen where you can work with all aspects of program reporting including viewing, printing, and exporting.
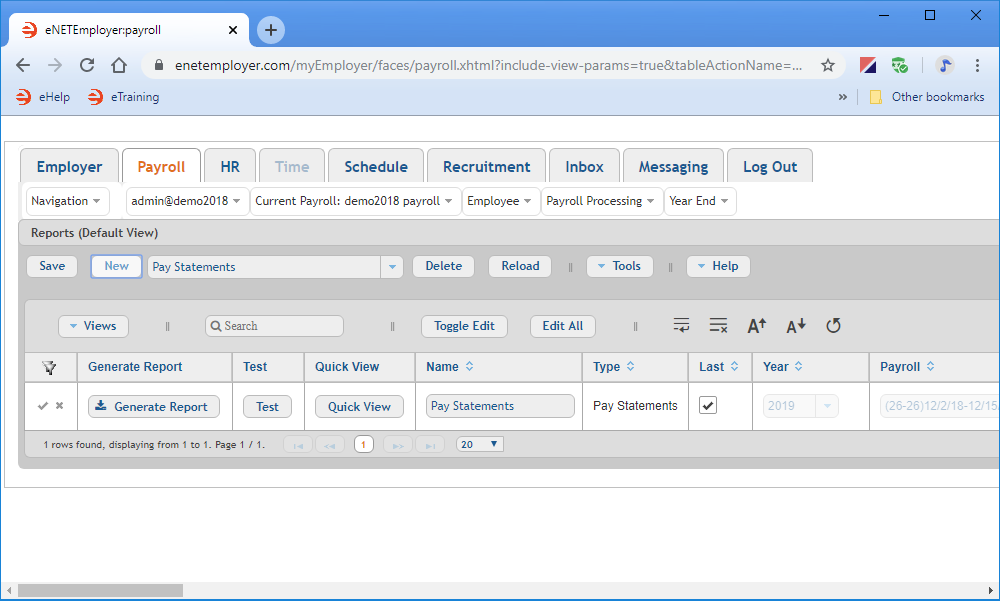
- Select the drop-down list that appears beside the New button and then choose the Pay Statements option from the list. This report type will be used when the report row is added to the screen. Note: If you already have a Pay Statements report row, you can skip forward to point number 4 and simply use the report that is already in place.
- Choose the New button. This action inserts a new Pay Statements report row into the table with its cells ready for editing.
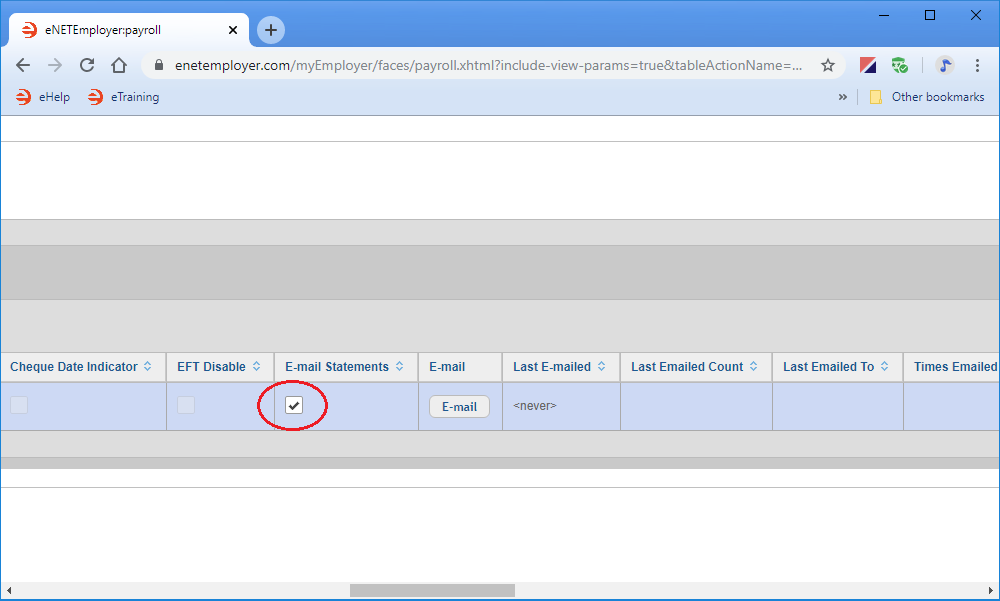
- Scroll to the right until you see the Email Statements column. The default setting is set to disabled (i.e. no check mark appears in the checkbox).
- Place a check in the Email Statements cell to activate the feature.
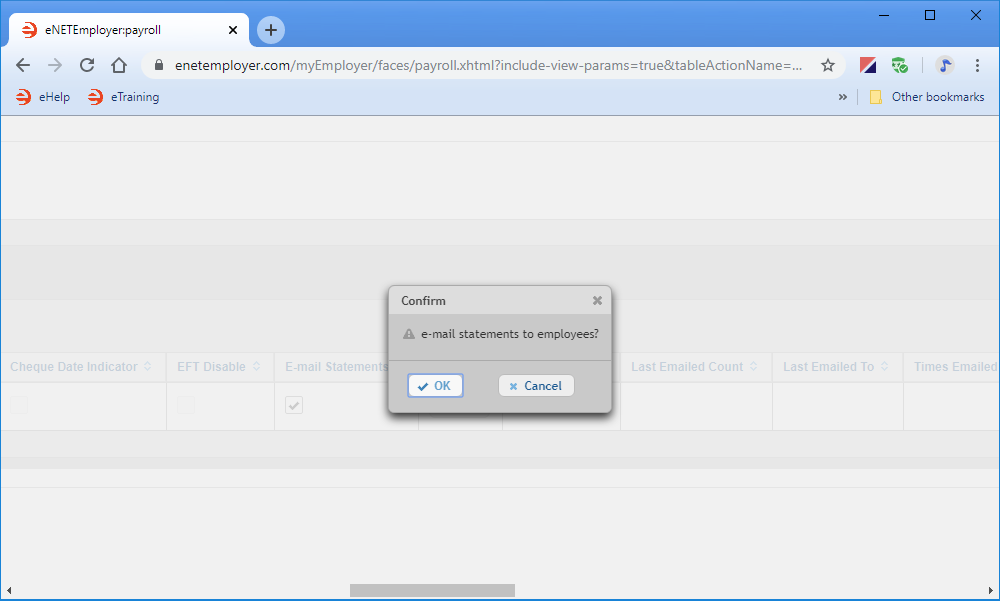
Notice that after you activate the Email Statements option, the Email button in the column to the right becomes enabled. This button can now be used to deploy the statements to your employees. - Select the Email button. This pops up a prompt asking you to confirm that you wish to send the pay statements.
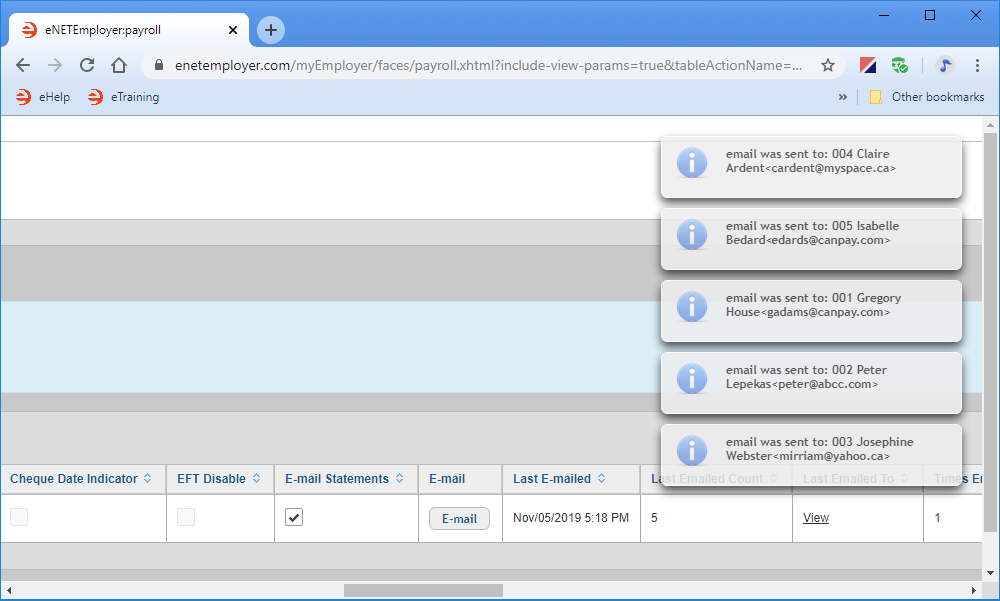
- Select the OK to close the prompt and a status message is displayed as the program sends the pay statements to all employees with a valid email address. Once the process is complete, the program displays a pop-up message for each person who has been emailed a pay statement. In the example below, we have emailed pay statements to five employees.
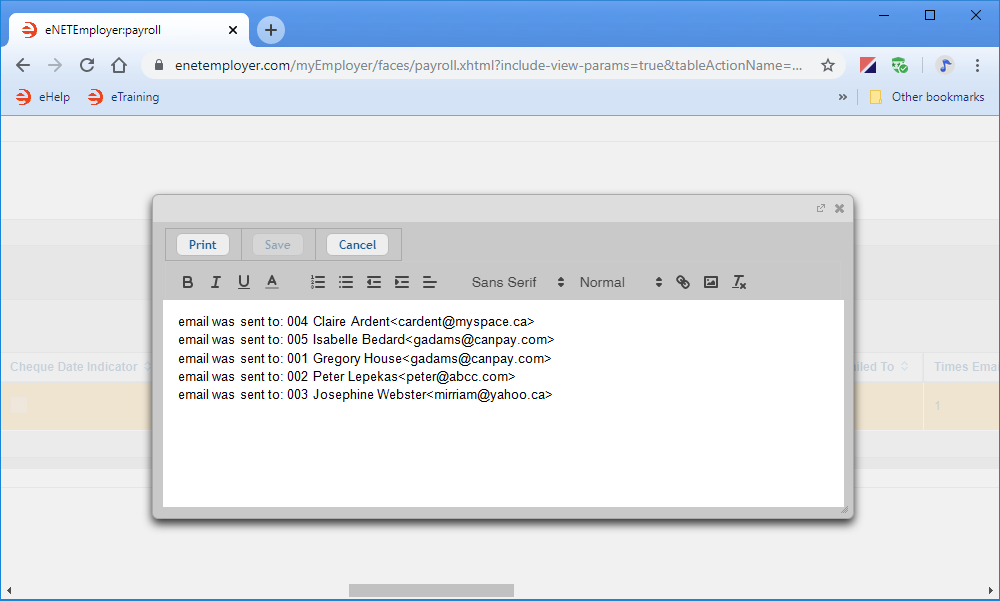
If you have many employees and wish to verify the complete list of employees who have been emailed, you can do so as follows:. - Choose the View link from the Last Emailed To cell. This displays list of the employees who have successfully sent a pay statement by email.
- Close the message when you have finished reviewing the list.
Now that you have added the Pay Statements row to this screen, it will remain for all future pay runs and does not need to be added again.
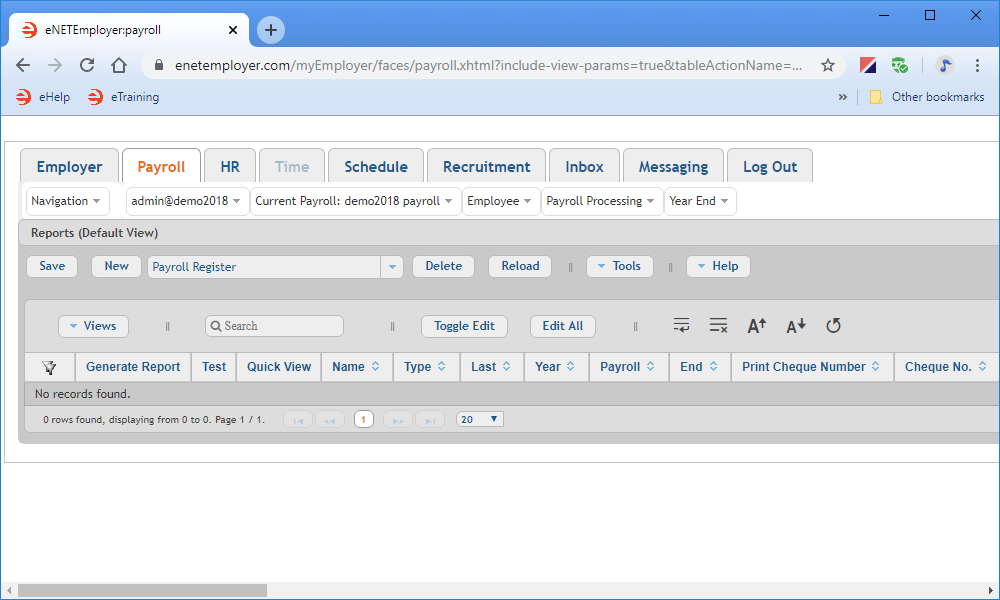
If you have never created a report, the screen will not contain any report rows (as shown in the example below).
To send pay statements to one or more specific employees:
From time to time it may be necessary for you to resend a pay statement to a single employee only - for example, if you had emailed all of your pay statements and an employee subsequently informs you that their email had changed. Resending pay statements to one or more employees is an easy task.
- From the Payroll tab, open the Payroll Processing - Reports screen, and then double-click on the Pay Statements report row to edit the cells. Note: If you have not yet added a Pay Statements row to this screen, please do so as discussed in point #2 in the previous section before proceeding.
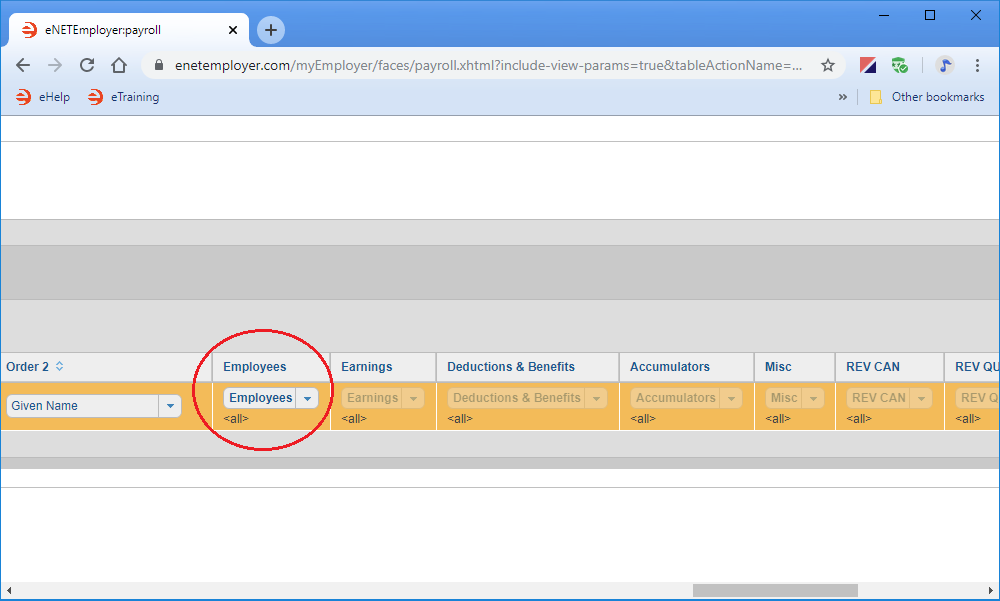
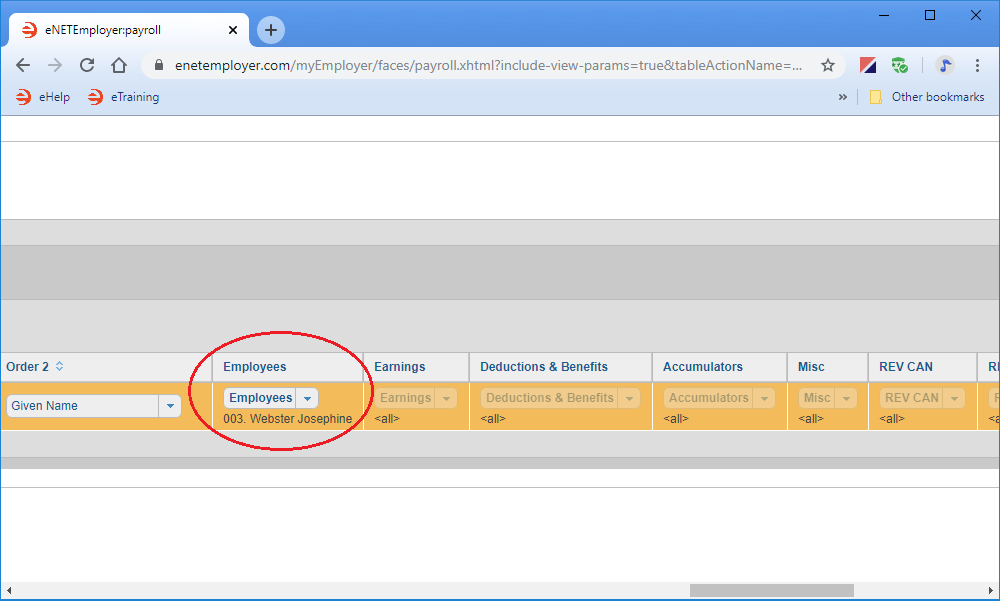
- Scroll to the right until you see the Employees column. Notice how the word <all> appears - this is the default setting that means every employee in the payroll will be included when the "email" action is performed.
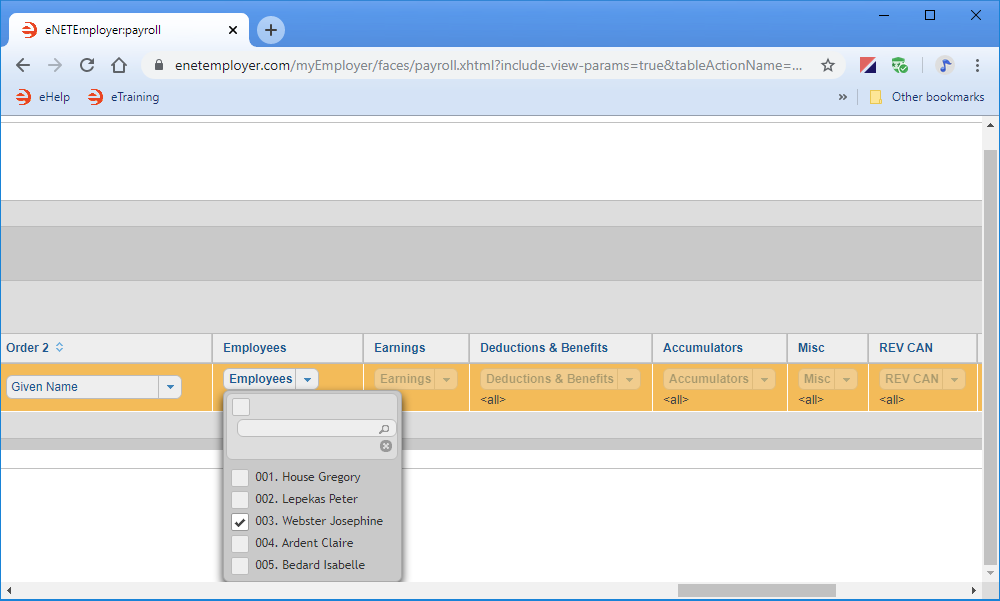
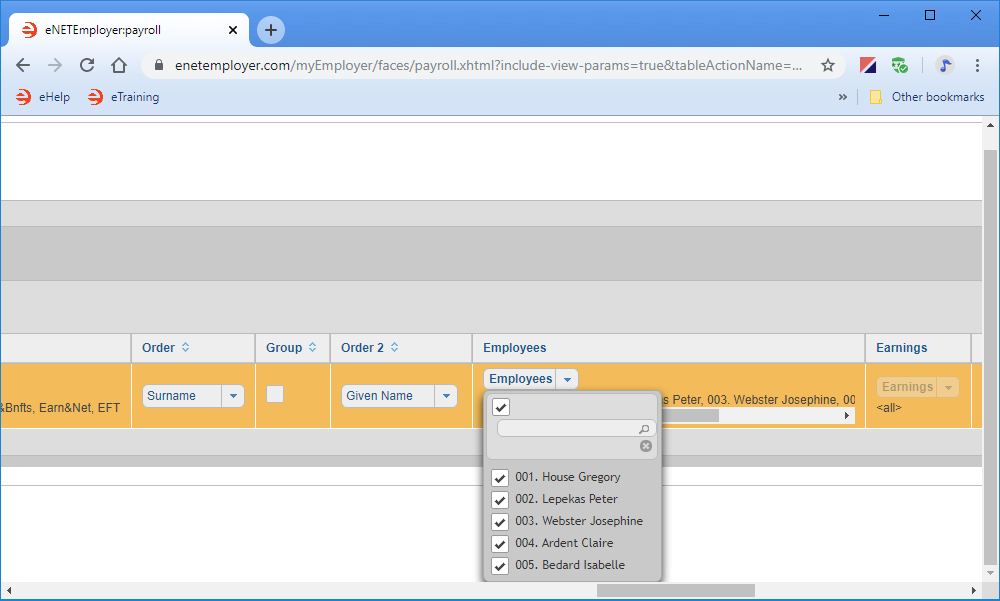
- Click on the down-facing arrow to display a list of all employees in the payroll, and then click on the checkbox beside each employee to whom you wish to send a pay statement. In our example below, we selected a single employee - Josephine Webster.
- Select the X near the top of the list to close it. The selected employee(s) names now appear in the cell.
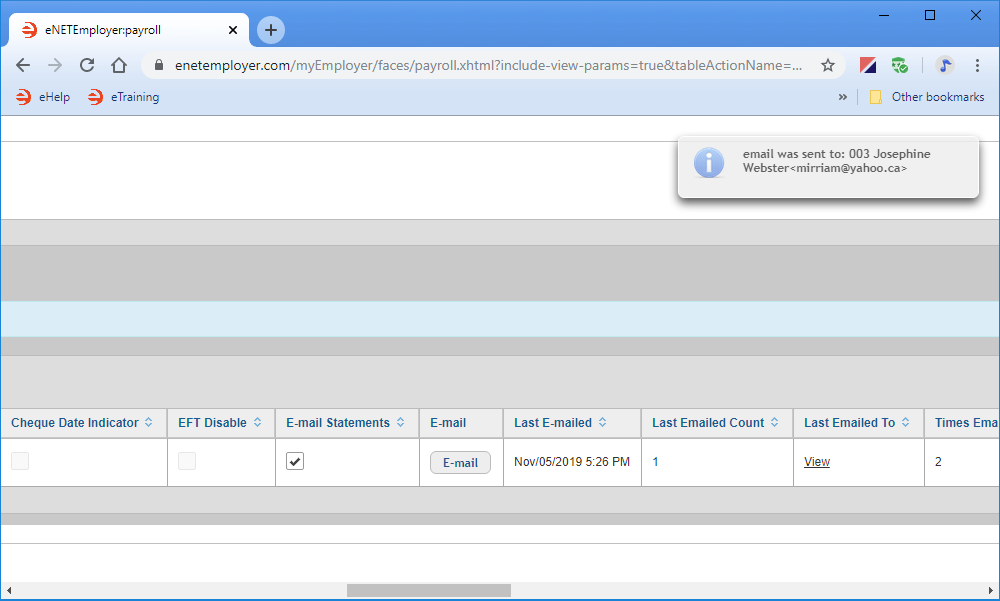
- Select the Email button and then choose Yes to the confirmation message that appears. A status message is displayed as the program sends the pay statements to the selected employee(s) only. Once the process is complete, a message appears for each employee who has been emailed. In the example below, only one employee has been sent a pay statement.
Now that you have emailed the individual pay statement(s) you must remember to reactivate the <All> setting so that your next pay run will include every employee when the pay statements are emailed. - Scroll to the right once again to locate the Employees cell, and then click the top checkbox so that all of the employees are selected.
- Save the changes to the row when you are finished.
This completes the tutorial on how to email pay statements to your employees.
See Also
- Reports Overview
- Payroll Reports
