Help Toolbar (select a button to browse other online help sections) Home Tutorials Resources Search Tabs & Menus Button Bar Table & Data Display |
Adding a Logo/Banner to your Recruitment Web page
When job applicants visit your recruitment web page, it's important to present them with proper branding. You can do so by adding a company logo or banner to the top of your recruitment landing page.
NOTE: Click on the images below to view them at full size
To Add a Logo or Banner:
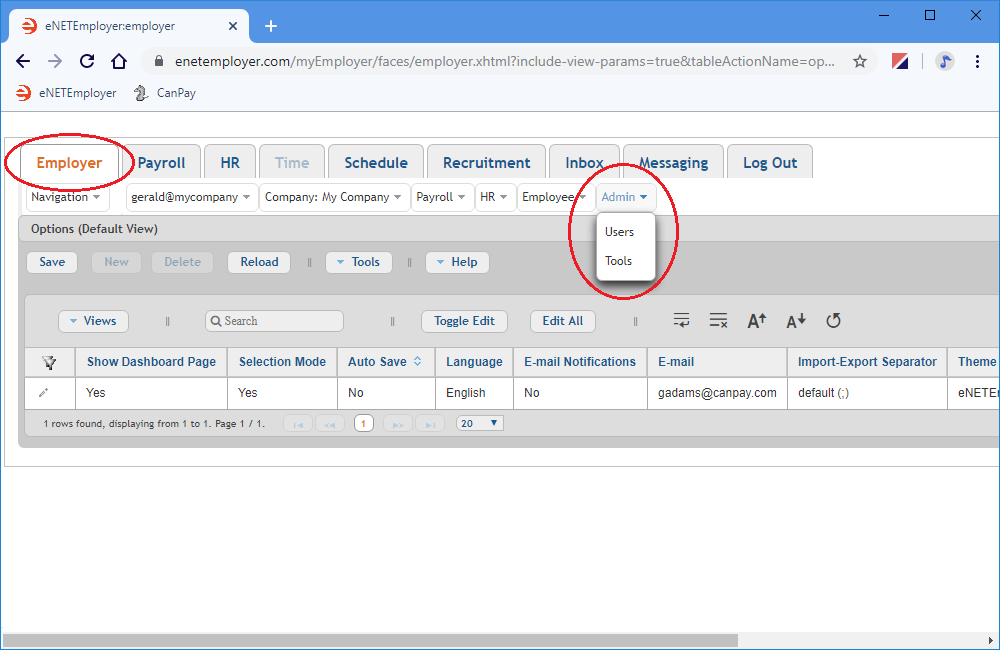
- From the Employer tab, Click on the Admin - Tools menu. This displays a drop-down menu of options that can be used for administrative operations such as performing a payroll backup and restore procedure, and assigning a logo/banner for branding purposes.
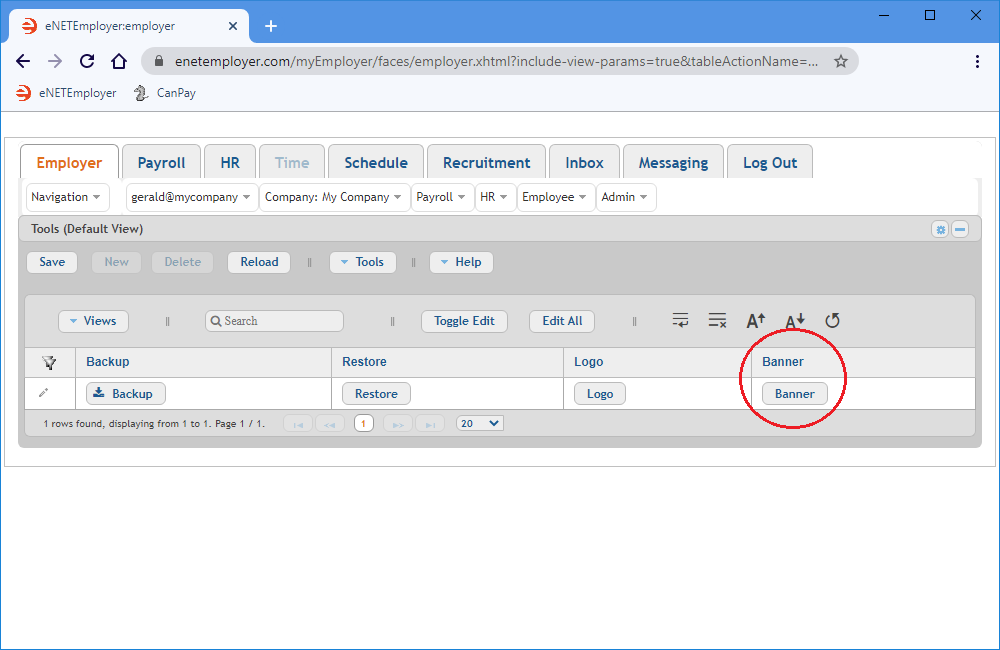
- Choose the Tools option from the drop-down menu. This displays the Admin - Tools screen where you can access the option to assign your custom page logo/banner.
- Select the Banner button from the Banner column at the right side of the table. This displays the Employer Banner window that allows you to specify the image that can be used to brand your pay statements.
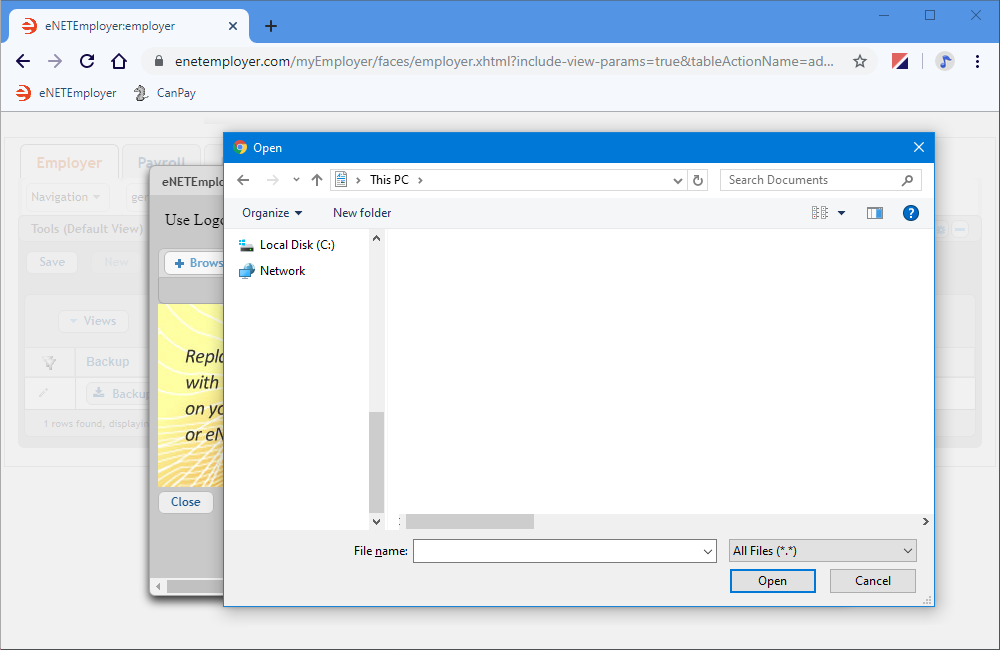
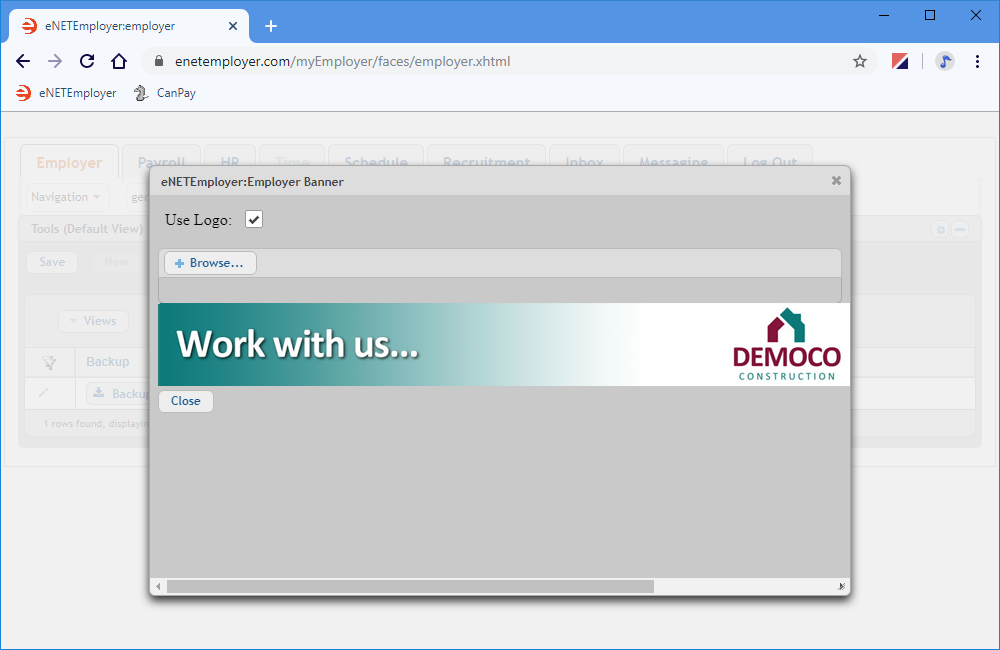
- Click inside the Use Banner checkbox to activate the banner feature, and then choose the Browse button. This displays an Open file window so that you can specify the image file that will be used.
- Navigate to the location where the image is stored. This can be on your computer's hard drive, your company network or even on an external flash drive.
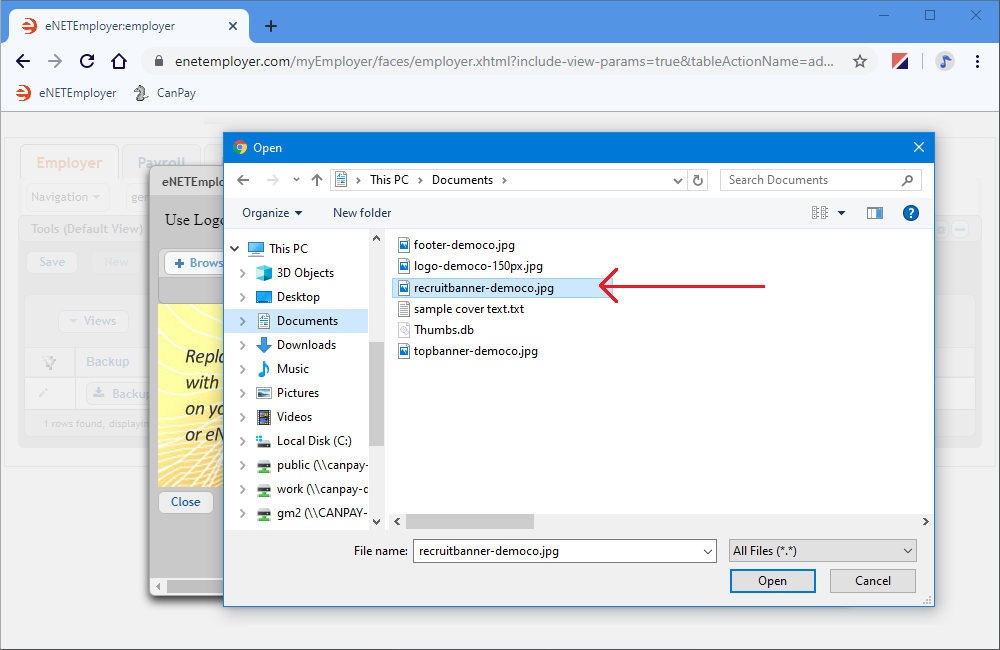
Example: In Fig. 05 below, the image is stored in the Documents folder on our computer. - Select your desired banner image from the navigation window, and then choose the Open button. This displays a thumbnail version of the selected image in the Banner window.
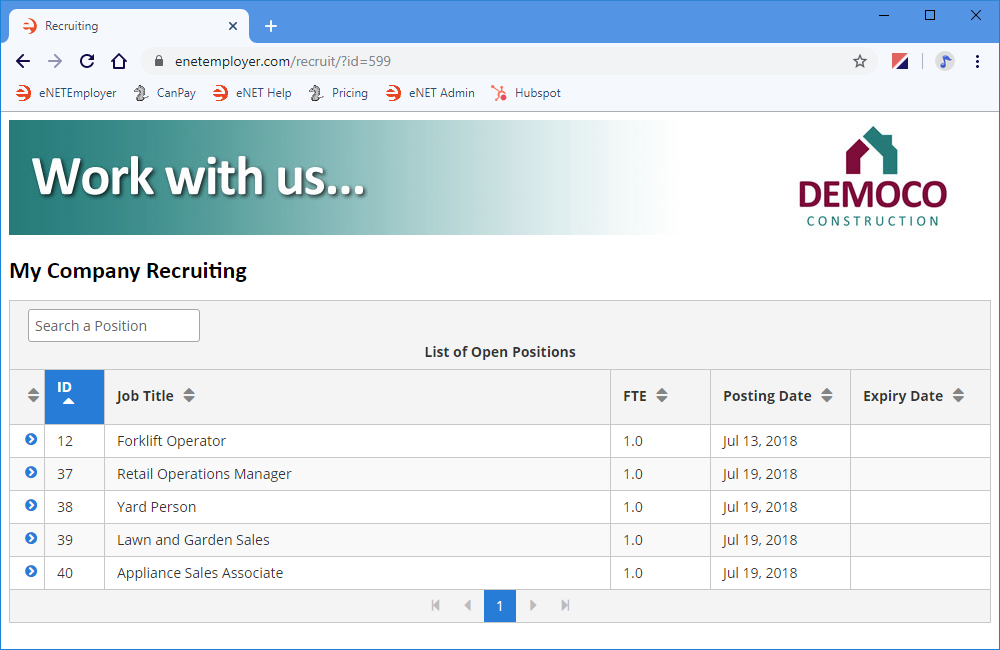
- Select the Close button to complete the banner assignment. The next time you view the recruitment web page, the logo/banner will be shown at the top.
Example: In Fig. 07 below, the banner image is displayed at the top of the web page.
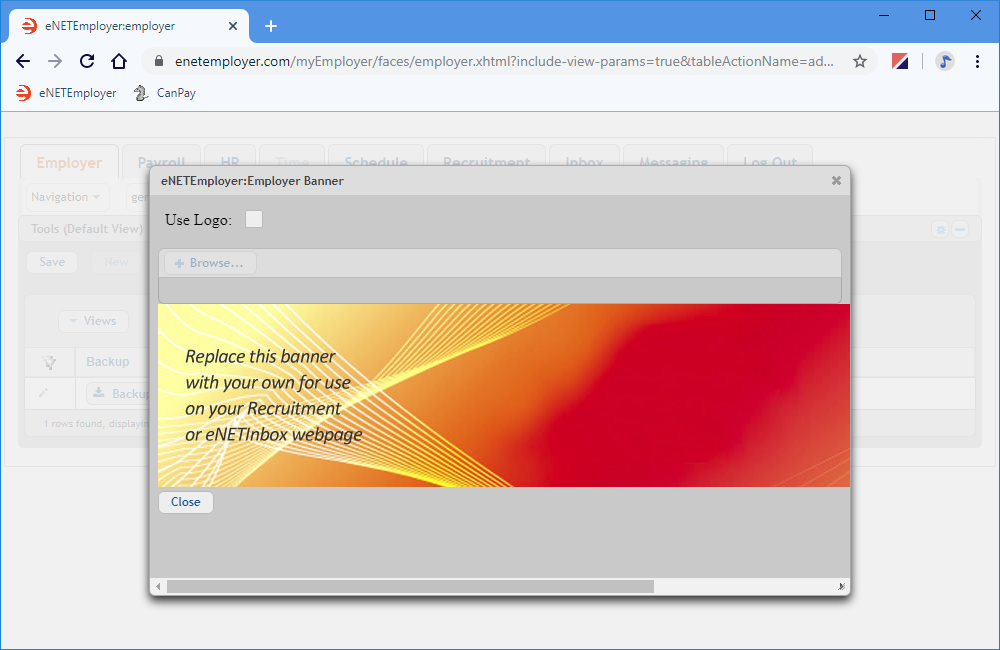
Fig. 03: The Popup window allows you to choose an image file that will brand your recruitment web page.
This completes the tutorial on adding a logo to your recruitment web page.
See Also:
