Help Toolbar (select a button to browse other online help sections) Home Tutorials Resources Search Tabs & Menus Button Bar Table & Data Display |
Defining Canada Savings Bond (CSB) Settings
NOTE: THIS FEATURE IS NO LONGER AVAILABLE
For this tutorial, we will enter your company's Canada Savings Bond (CSB) program information. eNETEmployer requires this information if you plan to use the Electronic Funds Transfer (EFT) feature to transmit employee Canada Savings Bond (CSB) deductions to the Bank of Canada.
NOTE: Click on the images below to view them at full size
To define CSB Settings for Your Payroll:
- Choose the Current Payroll - CSB menu command to open the CSB screen. This screen allows you to enter the banking information that will be used when each employee's CSB deduction is added to your EFT file.
- Select the New button to a new CSB row into the table.
- Edit the various cells as needed as they relate to your company's CSB settings (using the Online Help system if you need to look up a definition for the various cells).
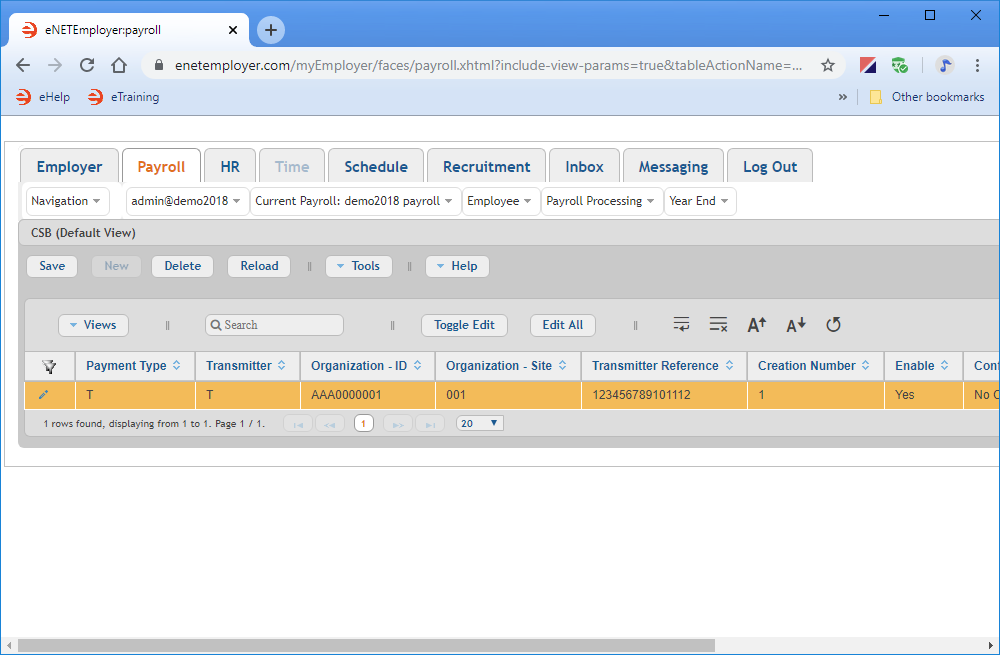
Example: In the example below, we have defined a sample CSB record. Because we have chosen the "Enable" option, this CSB information will be included in the EFT file when it is generated.
Transmitter Organization-ID Organization-Site Transmitter Reference Creation Number Enable Confirmation Options AAA000001 12345 12345 1234567890121212 1 Yes No Confirmation - Once your data is complete, select the Save icon for each row (the check mark icon at the left side of the row). This accepts the changes and the Edit Mode icons are removed to indicate that the entire row has been saved. You can also choose the Save button from the Button Bar above the table.
This completes the tutorial on defining your company's CSB settings.
Note: If you are working through the payroll setup process in order, you will need to continue through the Payroll menu to finish entering the data that is required for your particular payroll.
See Also:
