Help Toolbar (select a button to browse other online help sections) Home Tutorials Resources Search Tabs & Menus Button Bar Table & Data Display |
Composing a Message
This tutorial will show you how to create an outgoing message for other users of eNETEmployer's Messaging feature in your company.
NOTE: Click on the images below to view them at full size
To Create a Message:
- Select the Messaging tab and then choose the Mailbox - Compose menu option. This opens the Compose screen where you can create and send messages to people in your company who use the Messaging feature.
- Choose the New button to add a new message row to the table.
- Move to the Subject line and enter a line of text that will introduce your message.
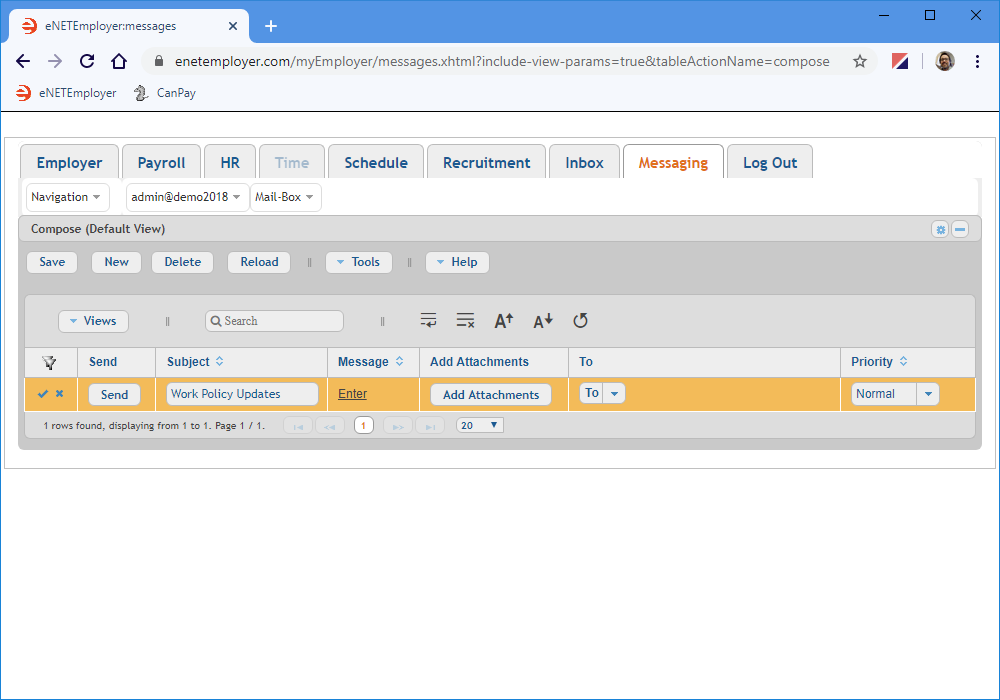
Example: In Fig. 01 below, we have entered a few words that describe our outgoing message. - Move to the Message column and click on the Enter hyperlink. When the edit window appears, enter the body of your message. You can type text directly in the window, or you can copy and paste text from another source.
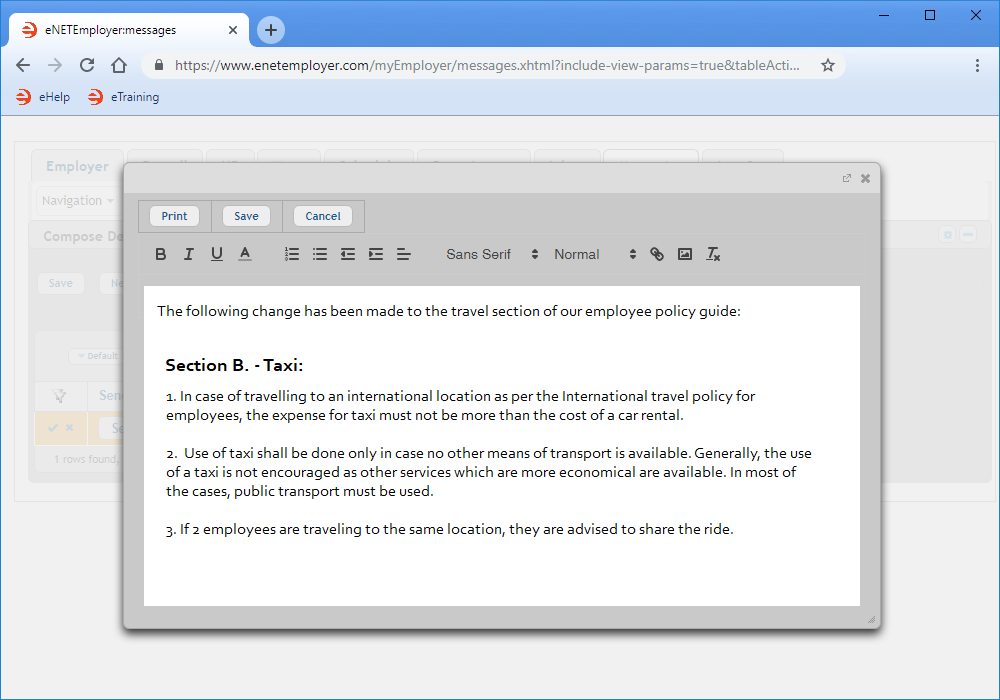
Example: In Fig. 02 below, we have entered the text for our sample policy update message.
- Select the Save button when you are finished entering the message text. This returns you to the Compose screen.
- To select your recipients, click on the downward arrow in the To cell. This displays a drop-down list with all of the people who have eNETEmployer user accounts within your company.
- Click inside each checkbox to add the user to your recipients list, or click the checkbox at the top left of the list to select all of the users at once.
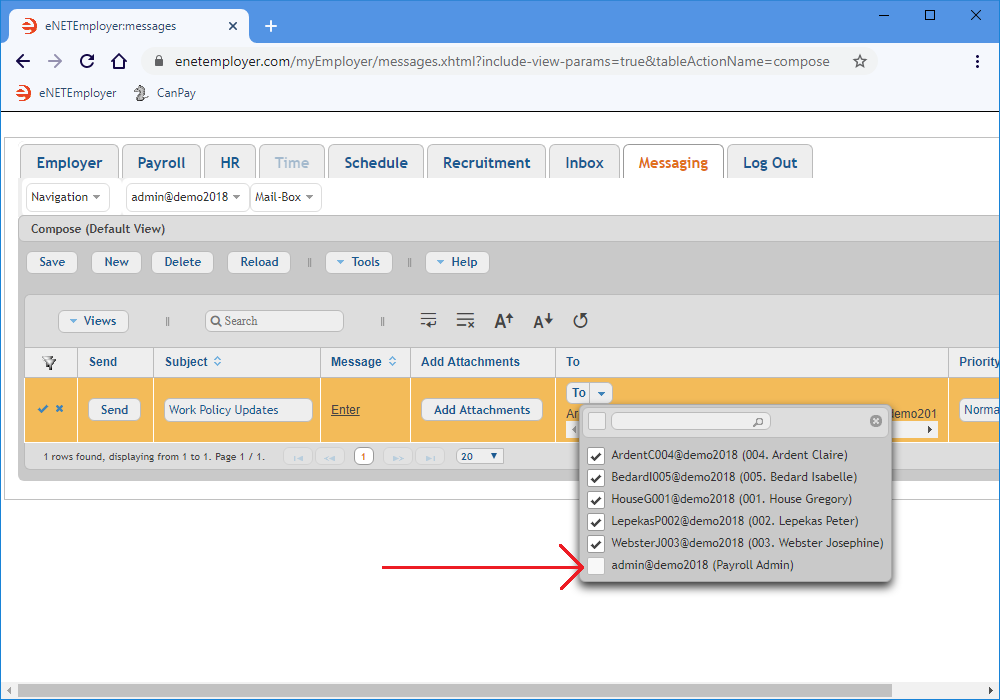
Example: In Fig. 03 below, we have selected all of our sample employees, with the exception of our Admin person (the person who is composing this message). - Once you have finished choosing your recipients, select the "x" icon in the top right of the list to close the list.
- Select the Send button to deliver your message.
This completes the tutorial on composing messages.
To learn how to review your sent messages, refer to the Working with the Messaging Outbox tutorial.
See Also:


